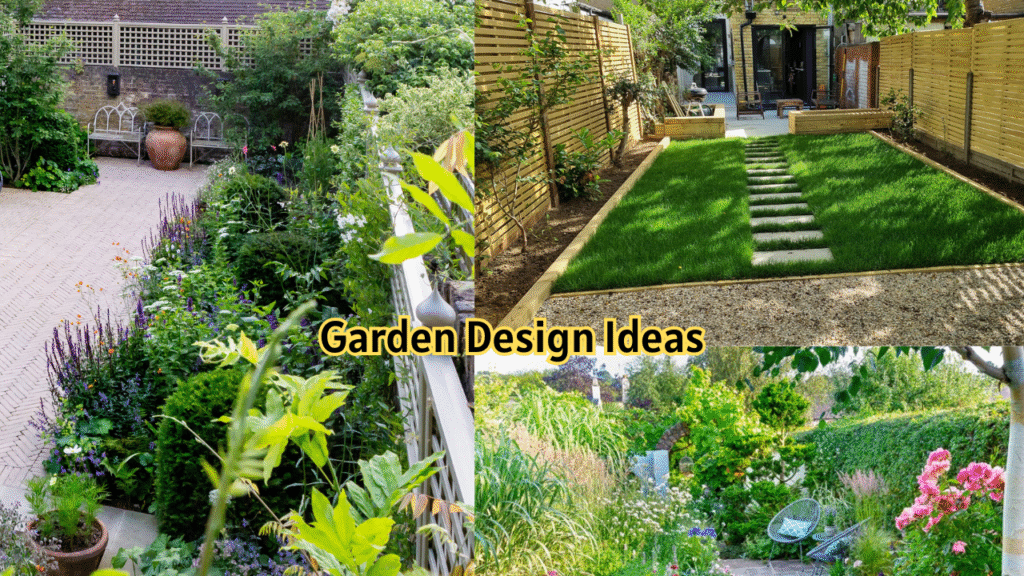
Small gardens are a superpower: when planned well they feel cosy, low-maintenance and surprisingly expressive. Below is a practical, step-by-step guide to designing a beautiful small garden — from assessing the space to planting, styling and maintaining it. Follow each step and you’ll end up with a purposeful, lovely tiny oasis that fits your lifestyle and budget.
Step 1 — Assess the space (measure, observe, decide)
- Measure: note length, width and any fixed features (walls, fences, trees, doors, drainage). Draw a simple plan on paper or your phone.
- Observe sunlight: for 3–7 days, mark which areas get full sun (≥6 hours), partial sun (3–6 hours) or shade (<3 hours). Also note wind direction and any hot reflective surfaces.
- Note access and views: which window/door do you want framed? Where will you enter? Which views do you want to hide or highlight?
- Decide function: list what this garden must do (e.g., relax, grow herbs, play area for child/pet, entertaining, vegetable patch).
- Set a budget and time: small gardens are perfect for low budgets — but decide if you’ll DIY or hire help.
Step 2 — Define a simple concept and style
Pick one clear concept to keep the small space cohesive. Fewer ideas = bigger impact.
- Minimal modern: clean lines, concrete tiles, gravel, sculptural plants.
- Cottage & romantic: soft curves, mixed flowers, climbing roses, rustic pots.
- Mediterranean: terracotta, lavender, olive-like shrubs, warm gravel.
- Tropical: bold-leaf plants, dark mulch, water feature for humidity.
- Urban edible: raised beds, trellised vegetables, container herbs.
Write a two-sentence concept: e.g., “A low-maintenance Mediterranean patio for evening drinks and a small herb patch.”
Step 3 — Make a scaled layout (the plan)
- Use your measurements to sketch to scale (1:50 or simple scaled squares). Mark fixed elements.
- Zoning: allocate 3–4 functional zones — e.g., seating (40% of usable area), circulation path (10–15%), planting (40%), storage (5–10%).
- Keep circulation efficient: in small spaces, a 60–90 cm minimum clear path feels comfortable.
- Choose focal points: a small tree, vertical trellis, sculpture, or water bowl gives the eye one place to rest.
- Furniture fit: measure furniture or choose compact foldable items — avoid bulky pieces.
Step 4 — Pick a layout strategy that makes space feel bigger
Use optical tricks to make the space feel larger:
- Long, narrow gardens: use a long central path and draw the eye to a distant focal point.
- Square patios: diagonal paving or a round rug breaks boxiness.
- Use repetition: repeat one or two plant types for rhythm — it reduces visual clutter.
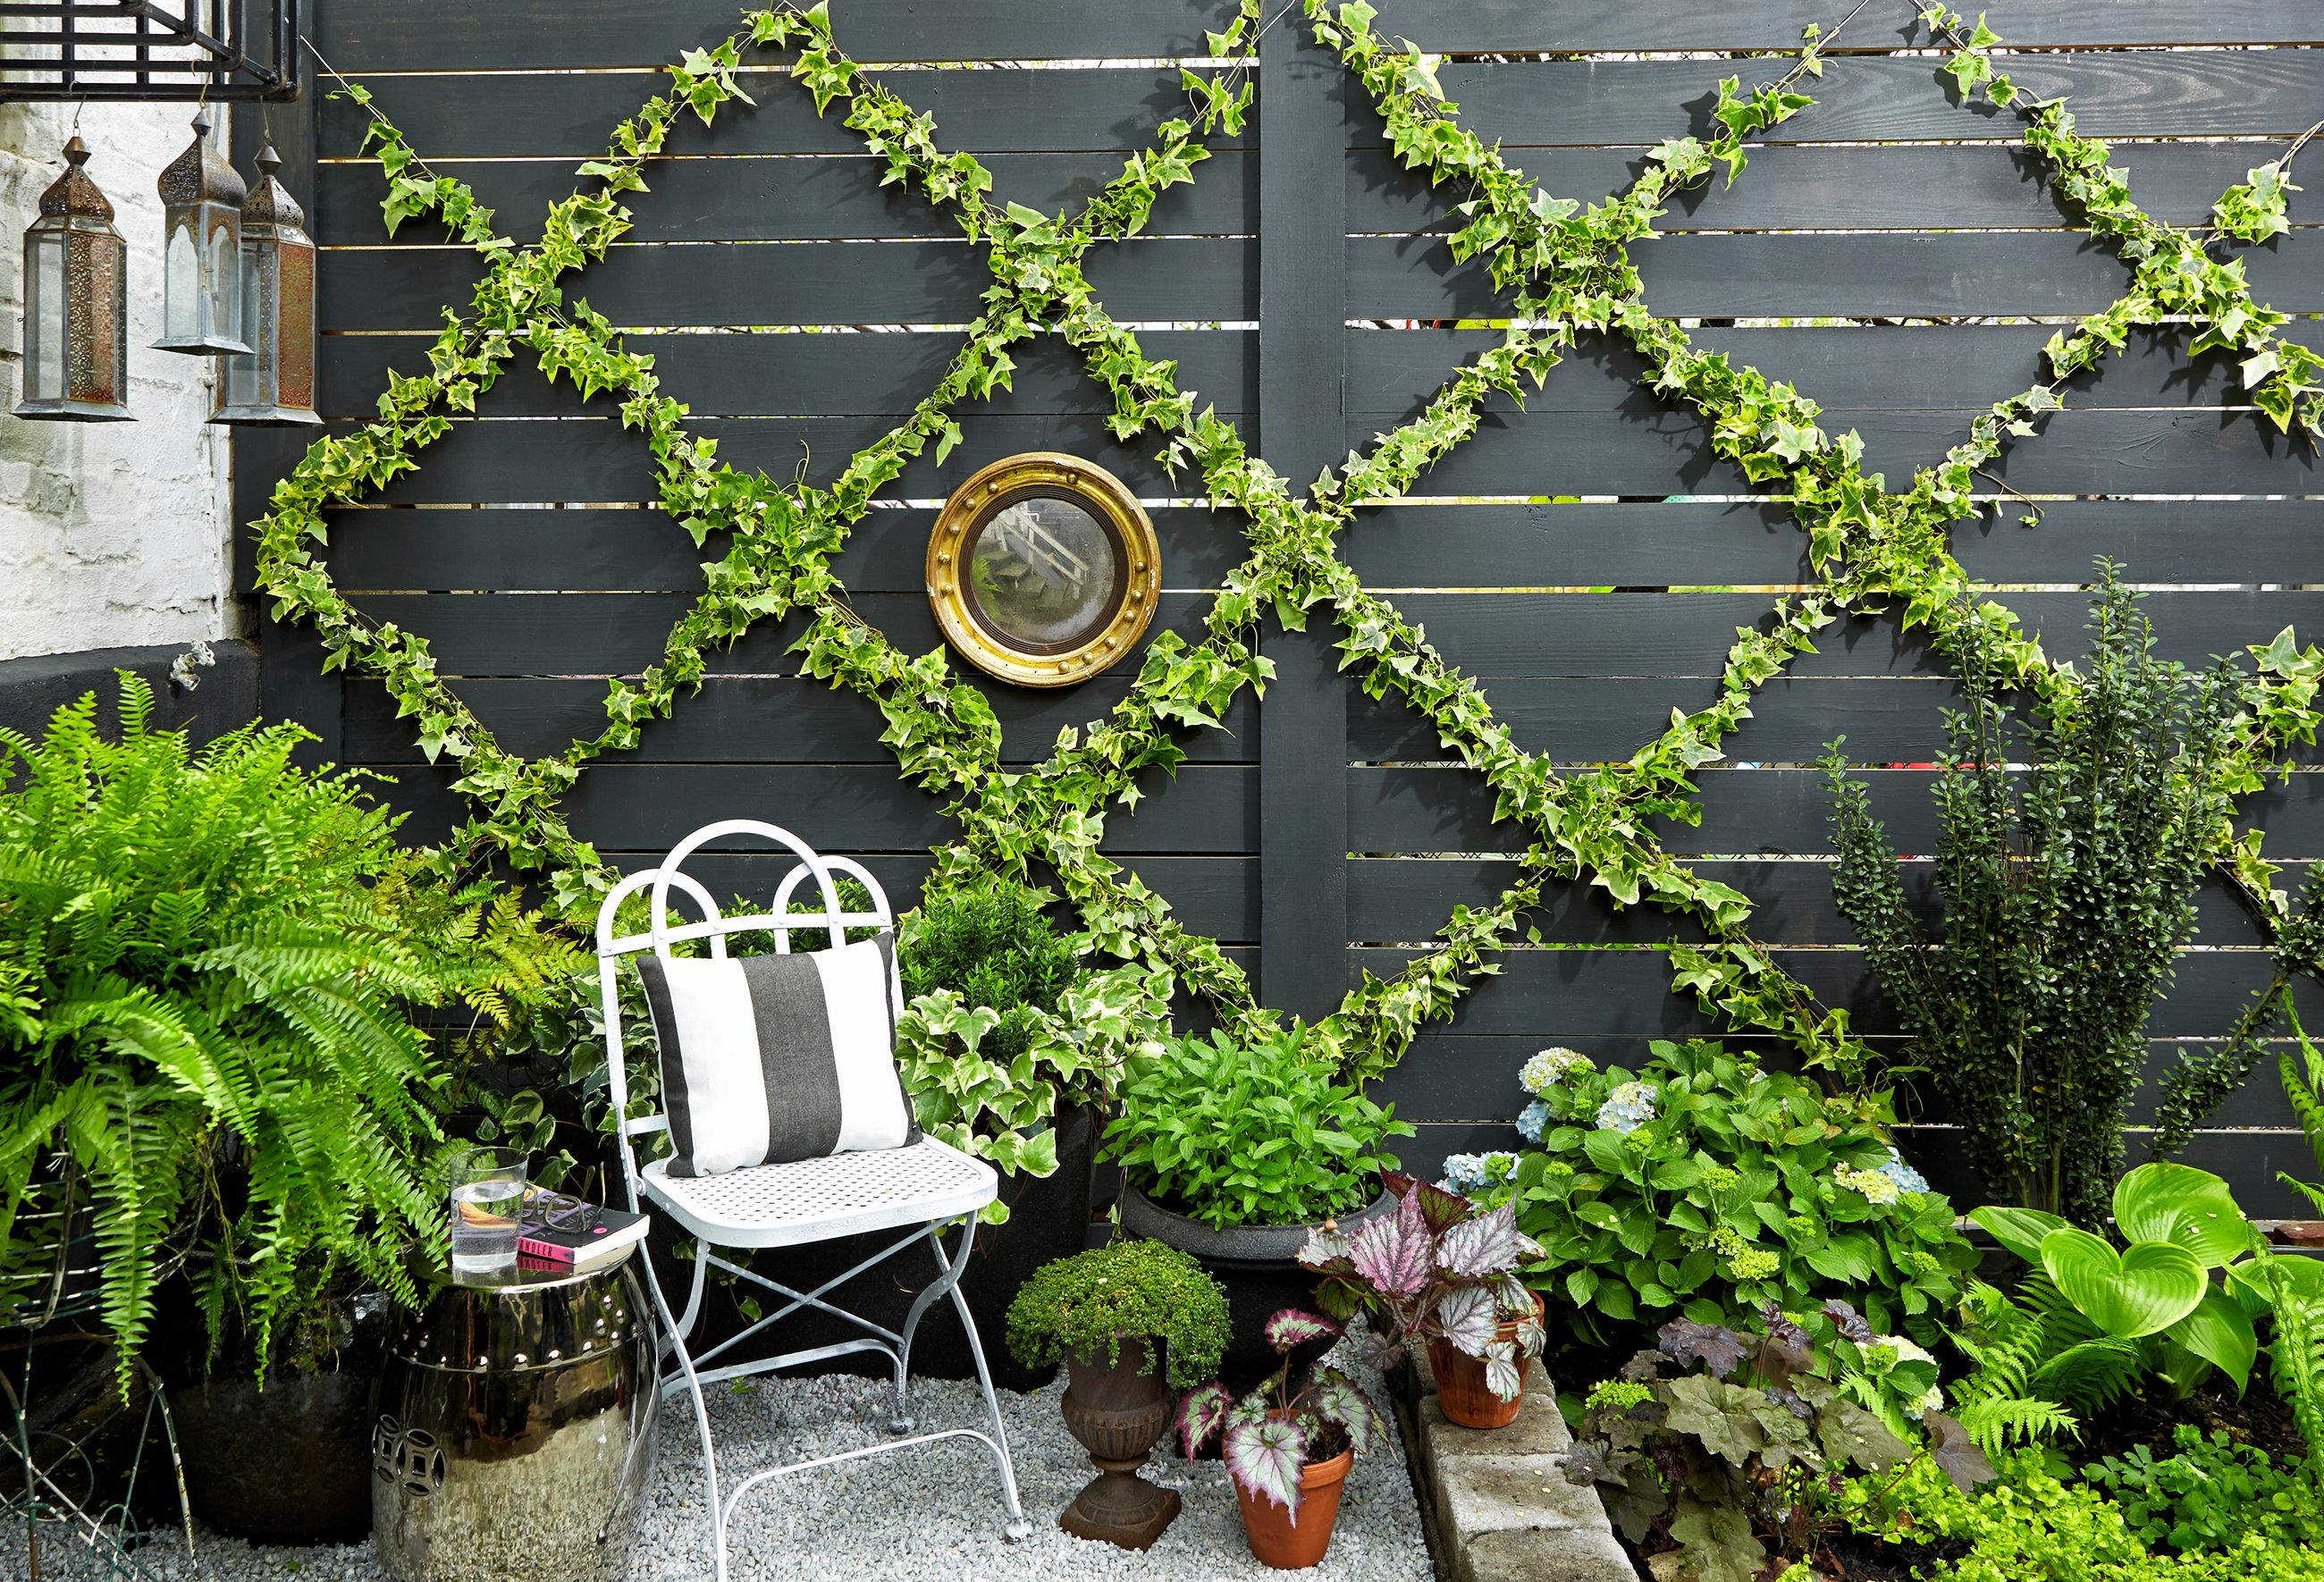
- Mirrors or reflective surfaces: a garden mirror on a wall can double perceived depth.
- Layering: foreground low plants, mid shrubs, background vertical elements to create depth.
Step 5 — Choose hardscape materials
In small gardens, materials are a major design tool. Keep palette limited (2–3 materials).
- Paving: large-format stone or composite decking gives a sense of space (fewer joints).
- Gravel: affordable, good for drainage and casual seating zones.
- Raised beds & planters: wood, Corten steel, or stone define planting and add structure.
- Mulch: dark mulch recedes visually; light gravel can brighten shady spots.
- Vertical elements: trellis, slatted screens, hanging planters — use them to add height without taking floor area.
Practical tip: combine permeable surfaces so water drains easily and you don’t create puddles.
Step 6 — Smart plant selection for small spaces
Choose plants by light, maintenance level and mature size. Favor multi-taskers (ornamental + edible, perennial + pollinator friendly).
- Structure plants (backbone): dwarf shrubs, small trees (e.g., Japanese maple, dwarf citrus), or evergreen hedging.
- Filler plants: perennials and grasses (lavender, salvia, carex, geraniums).
- Vertical climbers: jasmine, clematis, vining beans — these save floor space.
- Container picks: compact herbs (thyme, rosemary), salad greens, dwarf tomatoes.
- Shade options: hosta, ferns, heuchera, impatiens.
- Sun options: lavender, rosemary, sedum, marigold.
- Keep pot sizes appropriate — small pots dry out quickly; use medium containers for stability.

Planting density tip: in small spaces you can plant slightly denser than in large landscapes to create immediate impact, but account for mature spread.
Step 7 — Planting plan & layering
- Sketch where each plant will go on your scaled plan and note mature sizes.
- Layer vertically: groundcover → mid-height perennials → taller focal shrubs → climbers at the back.
- Use repetition: choose 2–3 plant species repeated in groups (3–5) to create rhythm.
- Seasonal interest: ensure at least one plant blooms in spring, summer and fall; include evergreen for winter structure.
Step 8 — Containers & vertical gardening
Containers are game-changers:
- Group containers of 2–3 sizes to create “plant islands.”
- Use self-watering containers for easier maintenance.
- Mount troughs on rails or hang planters on fences to free floor space.
- Vertical systems: pocket planters, pallet gardens or trellis-mounted pots make walls productive.
- For edibles, use stacked planters or a vertical hydroponic tower.
Step 9 — Lighting and atmosphere
Lighting extends use into evenings and adds depth.
- Layer lighting: task lights (above seating), path lights (low-level), and accent lights (uplighting small trees).
- Solar LEDs are easy for small budgets — put them where they get sun during the day.
- String lights or festoon lighting over a seating nook add coziness.
- Consider candle or lantern zones for atmosphere, but use safely on timber decking.
Step 10 — Water, irrigation & maintenance
Keep maintenance realistic:
- Install a simple drip irrigation system or soaker hoses for planted beds and containers on a timer.
- Mulch deeply in beds to retain moisture and suppress weeds.
- Use slow-release fertilizer in containers.
- Prune regularly (light maintenance often beats heavy seasonal work).
- Add compost annually to keep soil healthy.
Maintenance schedule example:
- Weekly: watering (as needed), quick sweep, check pots.
- Monthly: deadhead flowers, trim leggy growth.
- Quarterly: leaf mulch/top up soil in containers, check irrigation.
Step 11 — Small features that add personality
Add a few curated features rather than many small things:
- Water feature: a small bubbling urn or wall-mounted fountain adds sound without big space demands.
- Seating: built-in bench with storage or a foldable bistro set.
- Storage: vertical storage for tools; under-bench compartments.
- Art & textiles: one outdoor rug, a weatherproof cushion or a small sculpture to express style.
- Wildlife: a birdbath, bee-friendly flowers, or a small insect hotel.

Step 12 — Budget-friendly tips
- Reuse materials: old bricks, pallet wood, terracotta remnants.
- Start with fewer plants and add over time — a planted composition can evolve.
- Choose perennials; they return and fill space without replanting.
- DIY vertical planters from recycled gutters or pallets.
- Shop at plant swaps or community nurseries for bargains.
Step 13 — Example mini plans (apply to your measurements)
- 3m x 3m patio: diagonal pavers, central 2-seater bistro, raised herb planter along fence, one focal pot with dwarf tree.
- Narrow 1.5m x 4m alley: stepping stones down center, pocket planters on walls, vertical trellis at far end with clematis to draw eye.
- Balcony: composite decking tiles, three grouped containers (large, medium, small), vertical rail planters for herbs, string lights overhead.
Step 14 — Final checklist before you start
- Measurements and sun map completed.
- Concept & style defined.
- Scaled layout and zones drawn.
- Material palette chosen (max 3).
- Plant list matched to light and size.
- Irrigation plan and drainage checked.
- Furniture selected to scale.
- Budget and timeline set.
Quick maintenance & seasonal care cheat-sheet
- Spring: refresh soil, plant new perennials, check irrigation.
- Summer: mulch, regular watering, deadhead flowers.
- Autumn: prune lightly, collect seeds, protect tender containers.
- Winter: protect sensitive pots, tidy leaves, plan next season.
Closing tips — design like a pro
- Less is more: in small spaces, restraint creates elegance.
- Repeat, don’t mix: repeating colors, textures and pots unifies the space.
- Think up: vertical solutions multiply square footage.
- Live with it 2–3 weeks and tweak: small gardens benefit from adjustments after use.
- Make it yours: even tiny gardens feel special when they reflect your needs (tea corner, herb patch, meditation spot).

